How to Design a Paver Project
A good paver project does more than look nice. It must stay level, drain water, resist weeds, and handle Seattle’s wet climate for years.
The difference between a quick install and a long-lasting one comes down to planning, base prep, and professional installation.
Here’s how a properly built paver project works — and how the right upgrades add real value.
Step 1 — Start With Function (Use First, Style Second)
Before picking colors or patterns, ask: How will you use this space?
Common goals:
- Backyard patio for seating and outdoor living
- Front walkway for safe, clean access
- Garden path to control foot traffic
- Driveway extension or utility surface
- Low-maintenance yard upgrade
When the purpose is clear, we design the correct layout, base depth, and drainage from the start — preventing sinking, shifting, and water problems later.
Step 2 — Site Evaluation (Where Most Installs Fail)
This step determines whether your pavers last 2 years or 20 years.
We inspect:
- Soil condition and compaction
- Drainage and water flow
- Slope and grading
- Transitions to lawn, beds, or structures
- Load needs (walking vs vehicle weight)
Why this matters
Poor base and drainage cause most paver failures. Fixing it later costs far more than doing it right the first time.
Step 3 — Choose Durable Materials & Layout
We select materials based on use, budget, and long-term durability — not just looks.
Paver Material Options
- Concrete pavers — strong, reliable, most common
- Clay brick — classic look, long-lasting color
- Natural stone — premium, natural finish
- Porcelain — modern, low absorption, clean look
- Permeable pavers — improves drainage
Strong Layout Patterns
- Herringbone — strongest for heavy use
- Running bond — clean and simple
- Basketweave — classic style
- Random pattern — natural look
Joint & Edge System
- Polymeric sand locks joints and blocks weeds
- Reinforced edge restraints prevent spreading
Performance upgrades
- Thicker base for stability
- Drainage base for wet areas
- Premium polymeric sand for weed resistance
- Sealing for color protection and easier cleaning
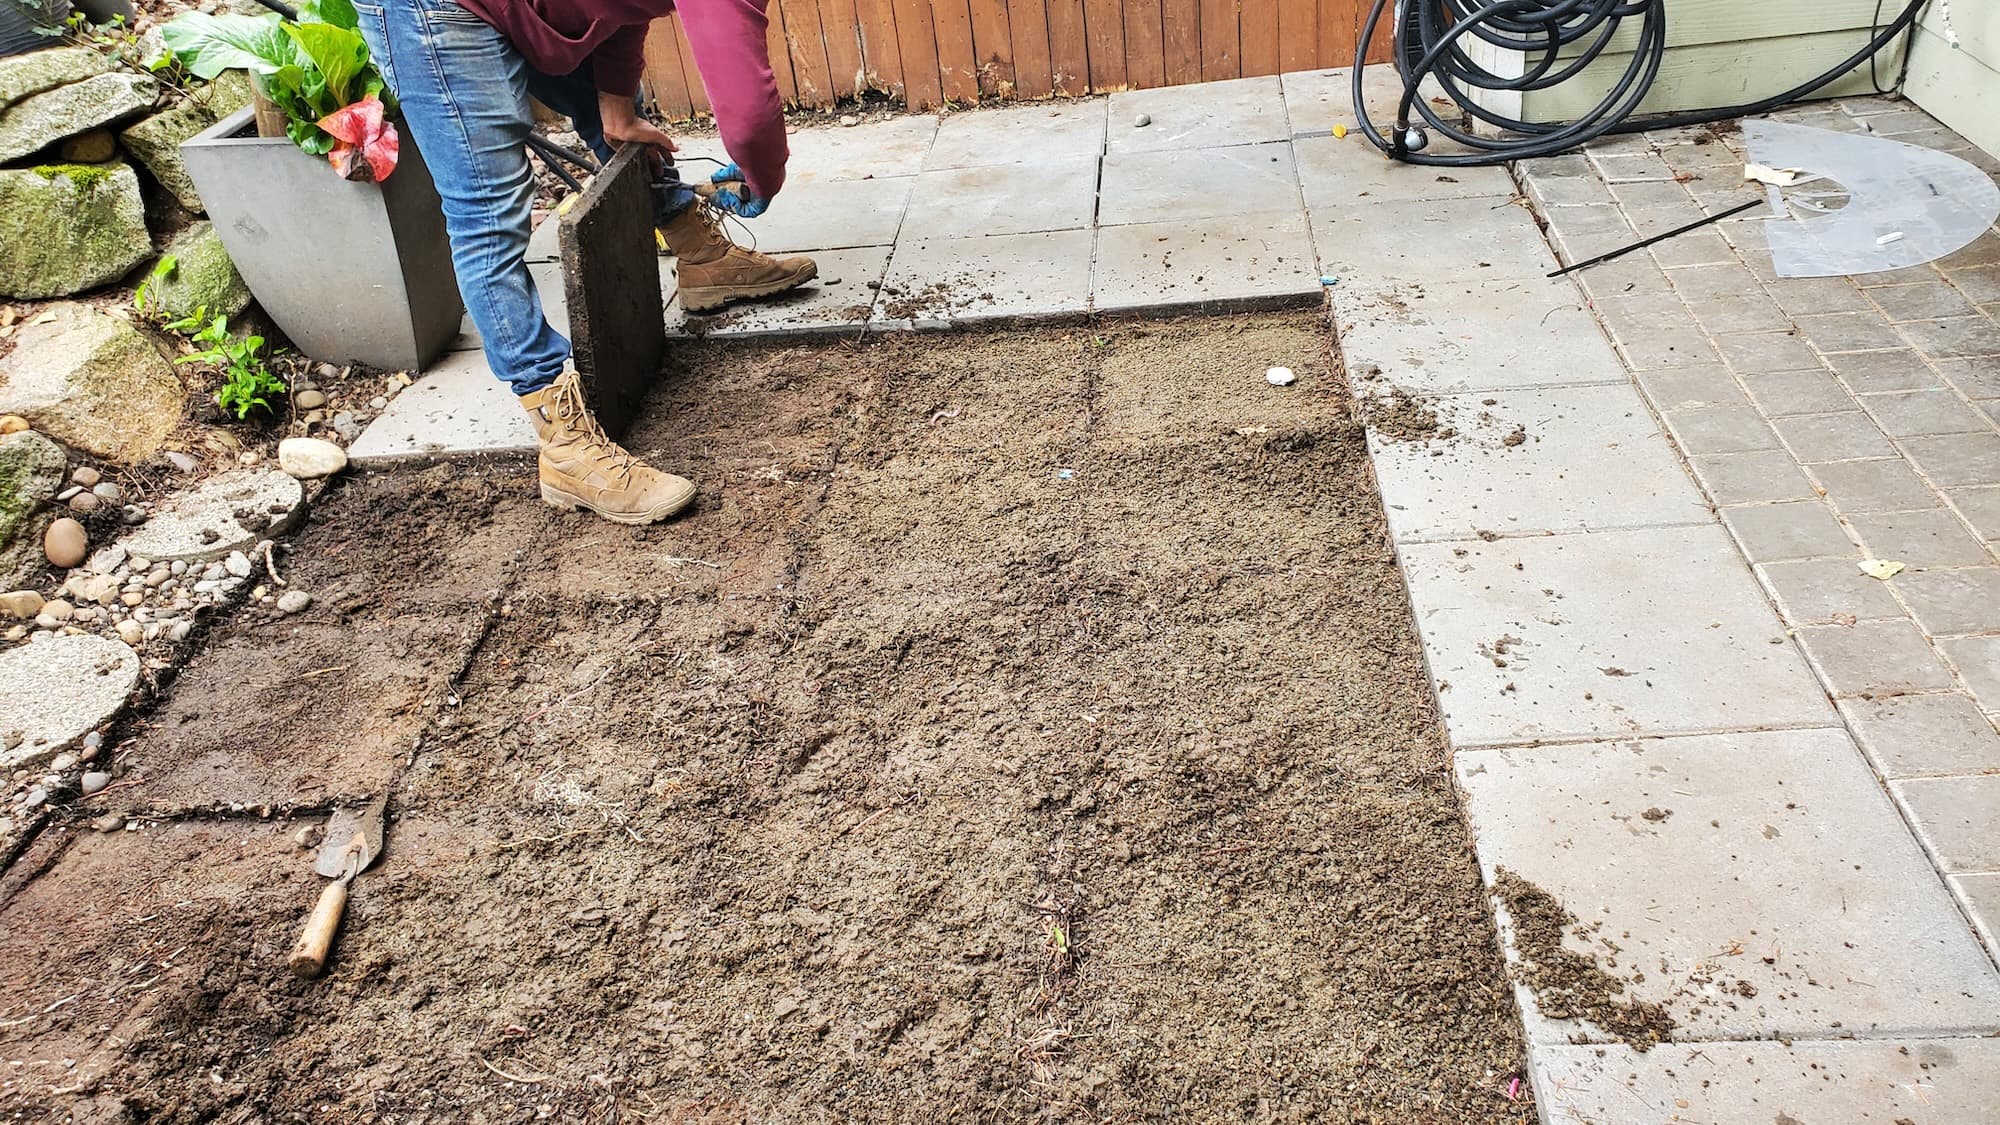
Step 4 — Base & Drainage (The Most Critical Part)
The foundation is what makes pavers last.
A proper build includes:
- Excavation to correct depth
- Compacted crushed rock base
- Precision leveling layer
- Drainage correction if needed
- Strong edge restraint installation
Result
- No sinking
- No standing water
- No shifting
- Long-term structural stability
Step 5 — Install, Finish, and Protect
With a solid base, installation becomes precise and clean.
Final steps:
- Accurate paver placement and alignment
- Clean edge cutting and fitting
- Joint sanding and compaction
- Optional sealing and protection
- Full cleanup and inspection
High-Value Upgrades (Most Popular)
These upgrades turn a basic project into a long-term outdoor feature:
- Drainage improvements
- Steps and elevation transitions
- Retaining edges or small walls
- Outdoor lighting
- Seating or patio extensions
- Fire pit or focal areas
- Pathway connections
- Weed barrier and reinforced base
Adding upgrades during installation costs far less than adding them later.
Most Requested Paver Projects
Backyard Patio
Clean, durable outdoor living space built with proper base and drainage for long-term use.
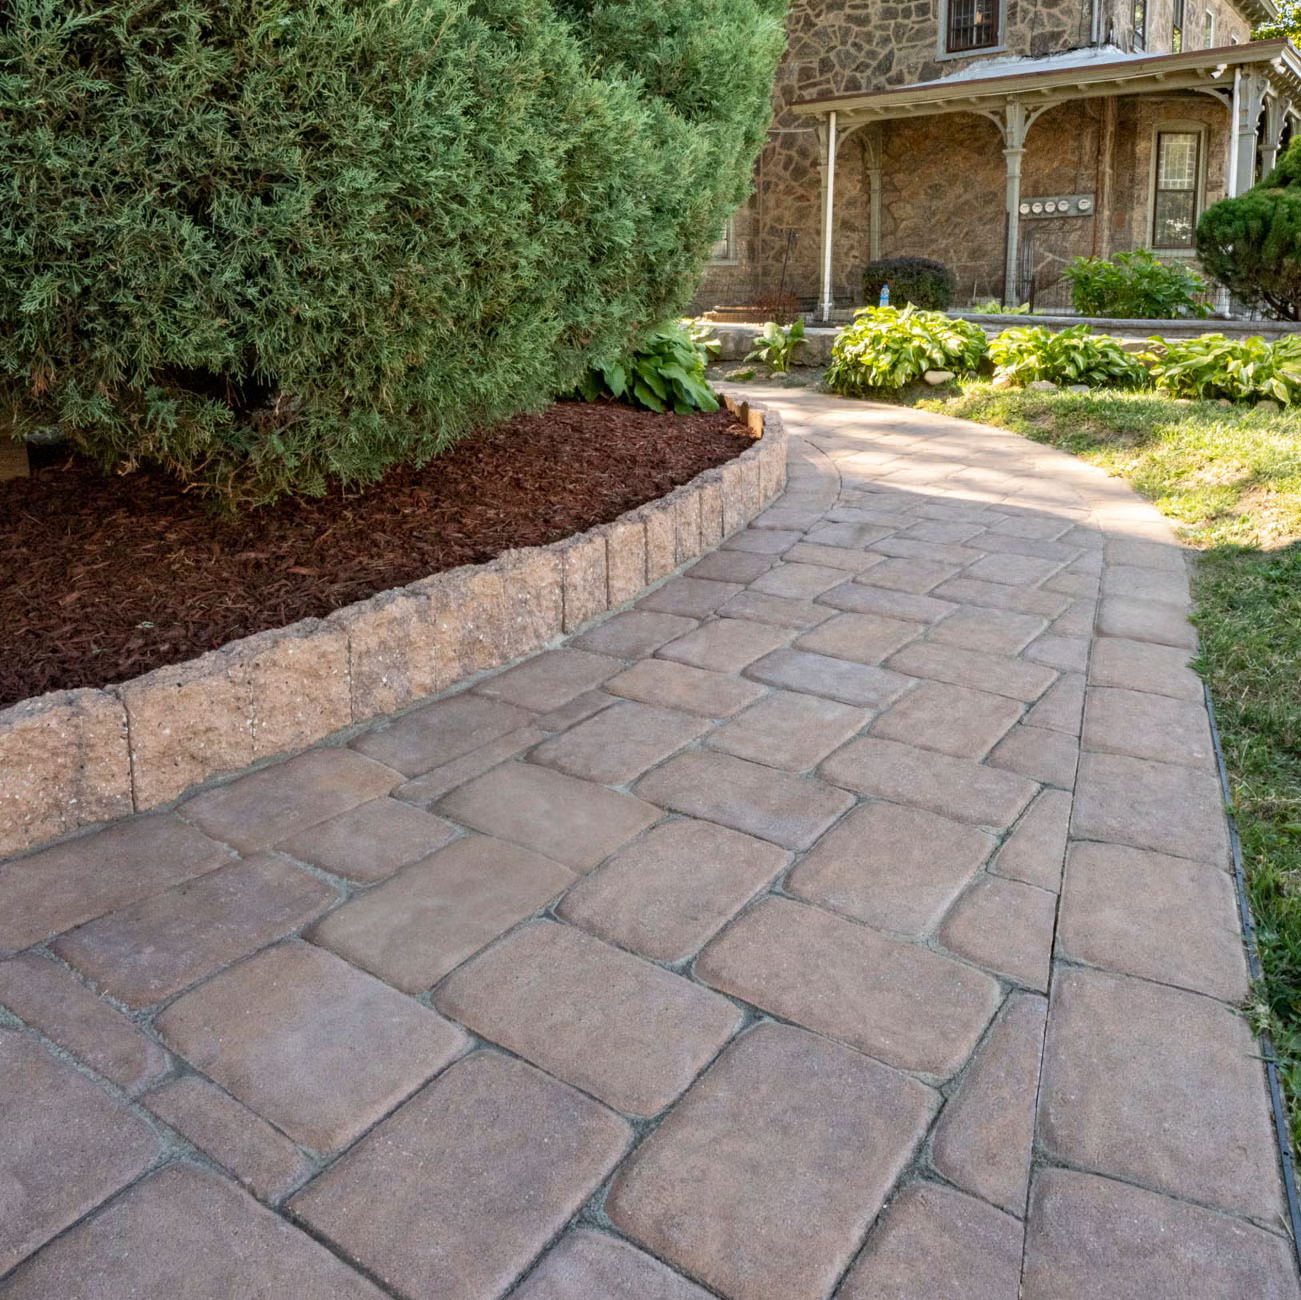
Front Walkway
Safe, clean entrance that improves curb appeal and property value.
Garden Pathway
Controls foot traffic, reduces mud, and lowers maintenance.
Side Yard / Utility Surface
Durable walking areas that stay clean year-round — no mud, no mess.
Why Professional Installation Matters
Pavers are only as strong as what’s underneath.
When installed correctly, pavers:
- Stay level for years
- Drain properly
- Resist weeds and moss
- Require less maintenance
- Increase property value
Poor installs:
- Sink and shift
- Trap water
- Grow weeds fast
- Need costly repairs
Get a Custom Paver Plan Built for Your Property
Every project is different. The right plan depends on:
- Soil and drainage conditions
- Usage and load needs
- Layout and design goals
- Budget and long-term expectations
A proper consultation ensures your project is built once — and built right.
Request a quote to get a clear plan, material guidance, and a professional installation strategy tailored to your space.
Strong base. Clean finish. Built to last.