Elevate Your Outdoor Space with a Custom Sidewalk or Walkway
Hey Seattle, it’s Mr. Lee here! Let’s talk about something that can truly transform your property and make your outdoor spaces more functional and inviting—sidewalks and walkways! Whether you’re looking to boost curb appeal, ensure safety, or just create a welcoming path, building a sidewalk or walkway can elevate your home. Let’s break down everything you need to know for the project: from materials to best practices.
Summary Notes
- Installation Process: Planning, excavation, base preparation, forming, laying materials, finishing touches, and curing time.
- Tools Needed: Shovel, rake, measuring tape, level, form boards, trowel, rubber mallet.
- Common Materials: Concrete, pavers, stone, gravel.
- Best Practices: Plan for drainage, maintain proper width, choose the right material, keep it level, use quality materials, add edging, and allow for curing.
Why Invest in Sidewalks and Walkways?
Before diving into the installation, it’s important to consider the value of adding a sidewalk or walkway to your property:
- Curb Appeal: A well-designed pathway instantly enhances the appearance of your home, making it more inviting to visitors.
- Safety: Walkways reduce the risk of slips and falls, especially important in Seattle’s rainy weather.
- Accessibility: Providing a clear path to your front door benefits guests, delivery drivers, and anyone with mobility concerns.
- Landscaping Integration: A well-placed walkway can guide people through your yard or garden, connecting different elements of your landscape.
How Sidewalk and Walkway Installation Works
The installation process for a sidewalk or walkway may seem straightforward, but it requires some planning to ensure everything is done right:
- Planning and Design: Start by sketching out the layout, considering the path’s width, shape, and how it will interact with existing landscaping. This step is crucial to ensure functionality and visual appeal.
- Excavation: Clear the area of grass, soil, and debris. Excavation is necessary to create a proper foundation for the walkway.
- Base Preparation: Lay down a base layer of gravel or crushed stone. This ensures stability and good drainage, preventing issues like shifting or sinking.
- Forming the Shape: Use wooden or metal forms to outline the edges of the walkway. This ensures the path maintains its shape during the installation process.
- Laying Materials: Depending on your material choice, pour concrete or lay pavers/stone. Ensure the materials are even and secure.
- Finishing Touches: For concrete, smooth the surface and add texture for style. If using pavers, ensure each one is level and snug.
- Curing Time: If you used concrete, allow it to cure properly. This can take 24 to 48 hours before the walkway is fully ready for use.
Tools You’ll Need
Here’s a list of essential tools to get the job done:
- Shovel: For excavation and clearing the area.
- Rake: To level the base material for a smooth surface.
- Measuring Tape: To ensure accurate dimensions for the path.
- Level: To check that your walkway is even throughout the process.
- Form Boards: To outline and shape the walkway.
- Trowel: For smoothing concrete (if using it).
- Rubber Mallet: Perfect for adjusting pavers without damaging them.
Common Materials
When choosing the material for your sidewalk or walkway, consider durability, style, and maintenance needs. Here are some popular options:
- Concrete: The most durable and low-maintenance option, available in various finishes and textures.
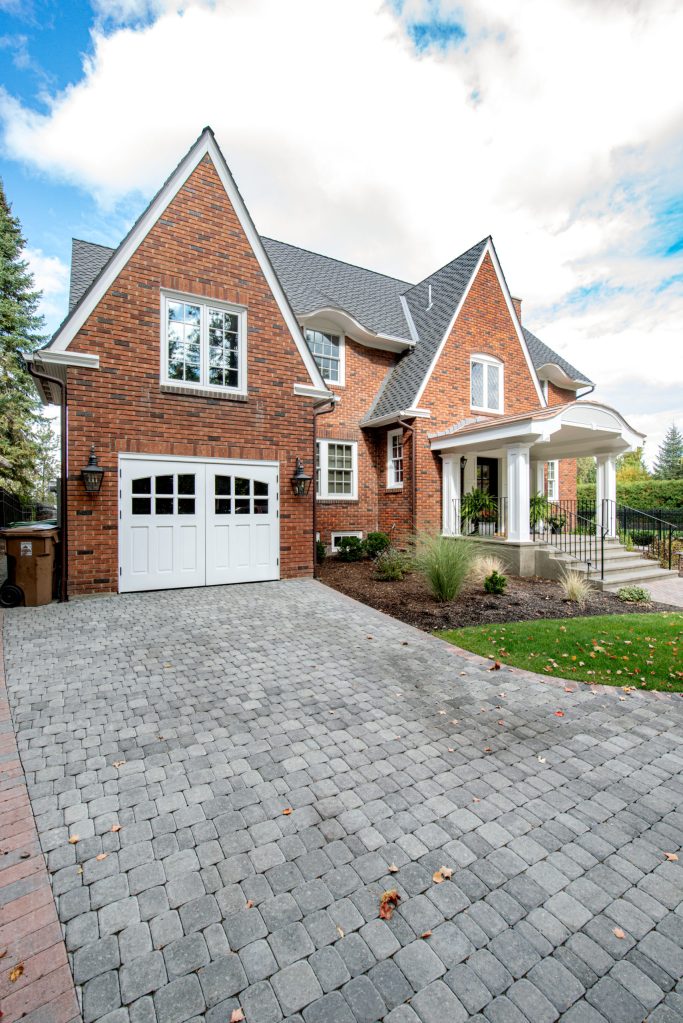
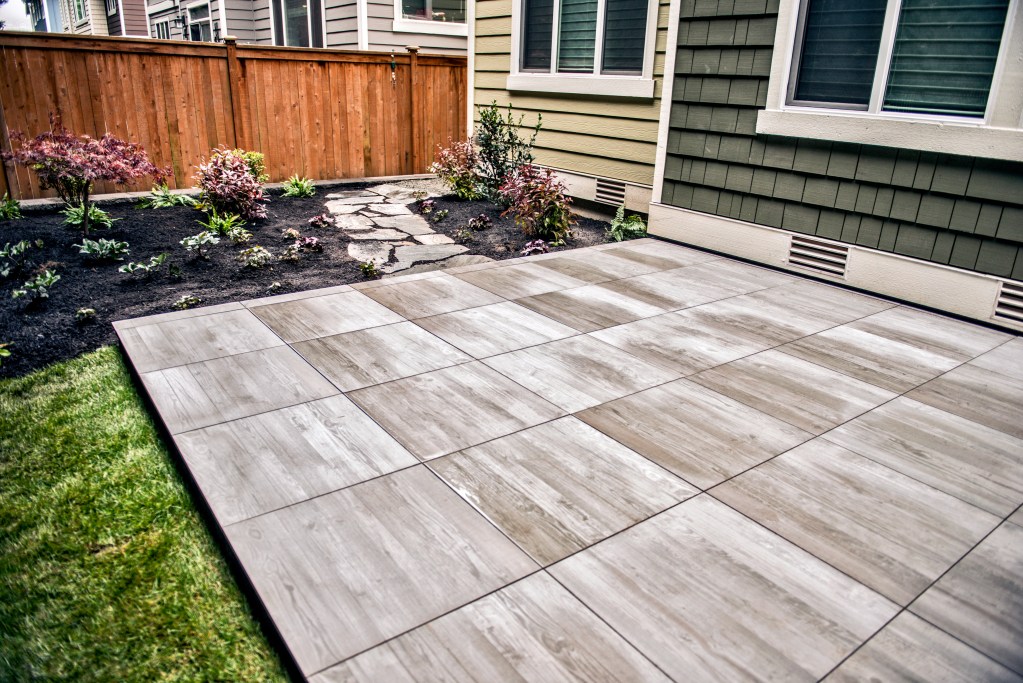
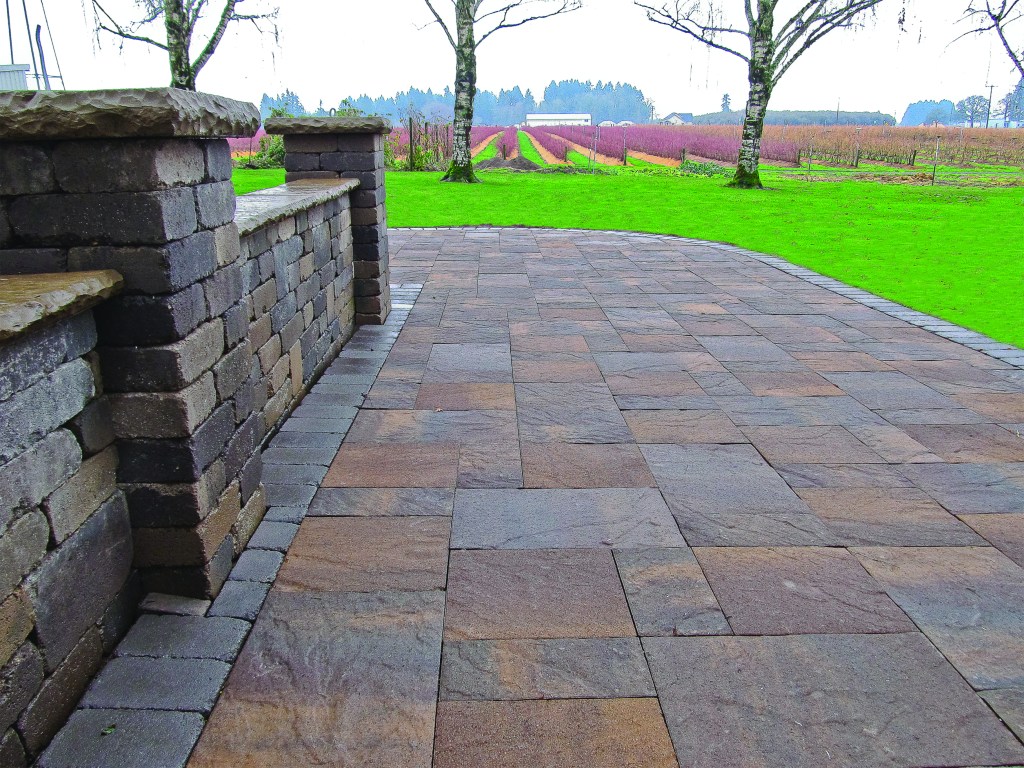
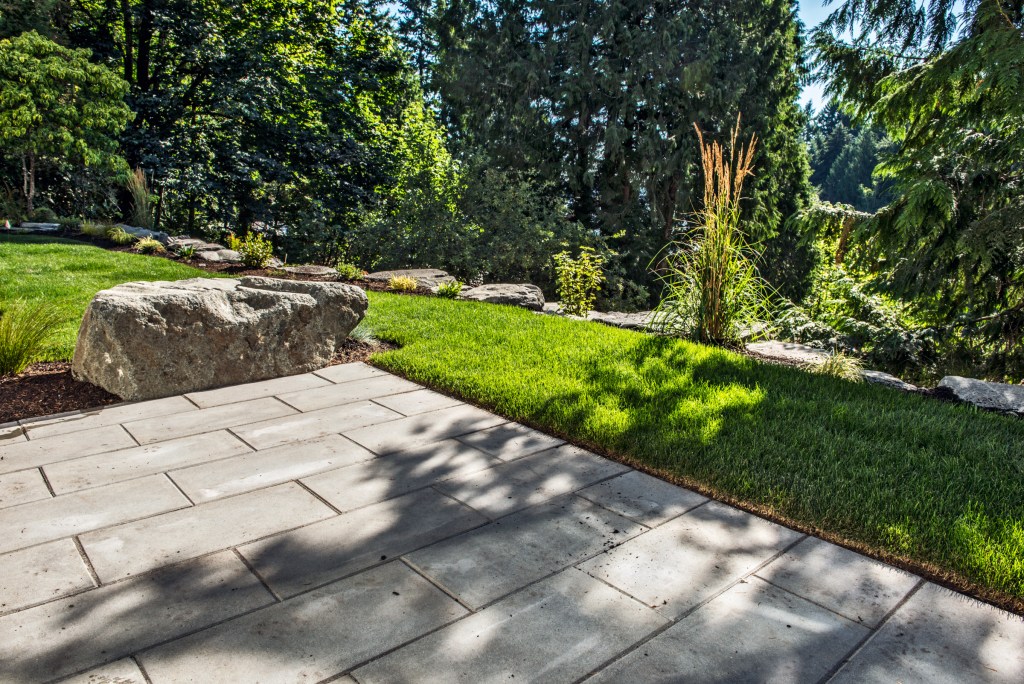
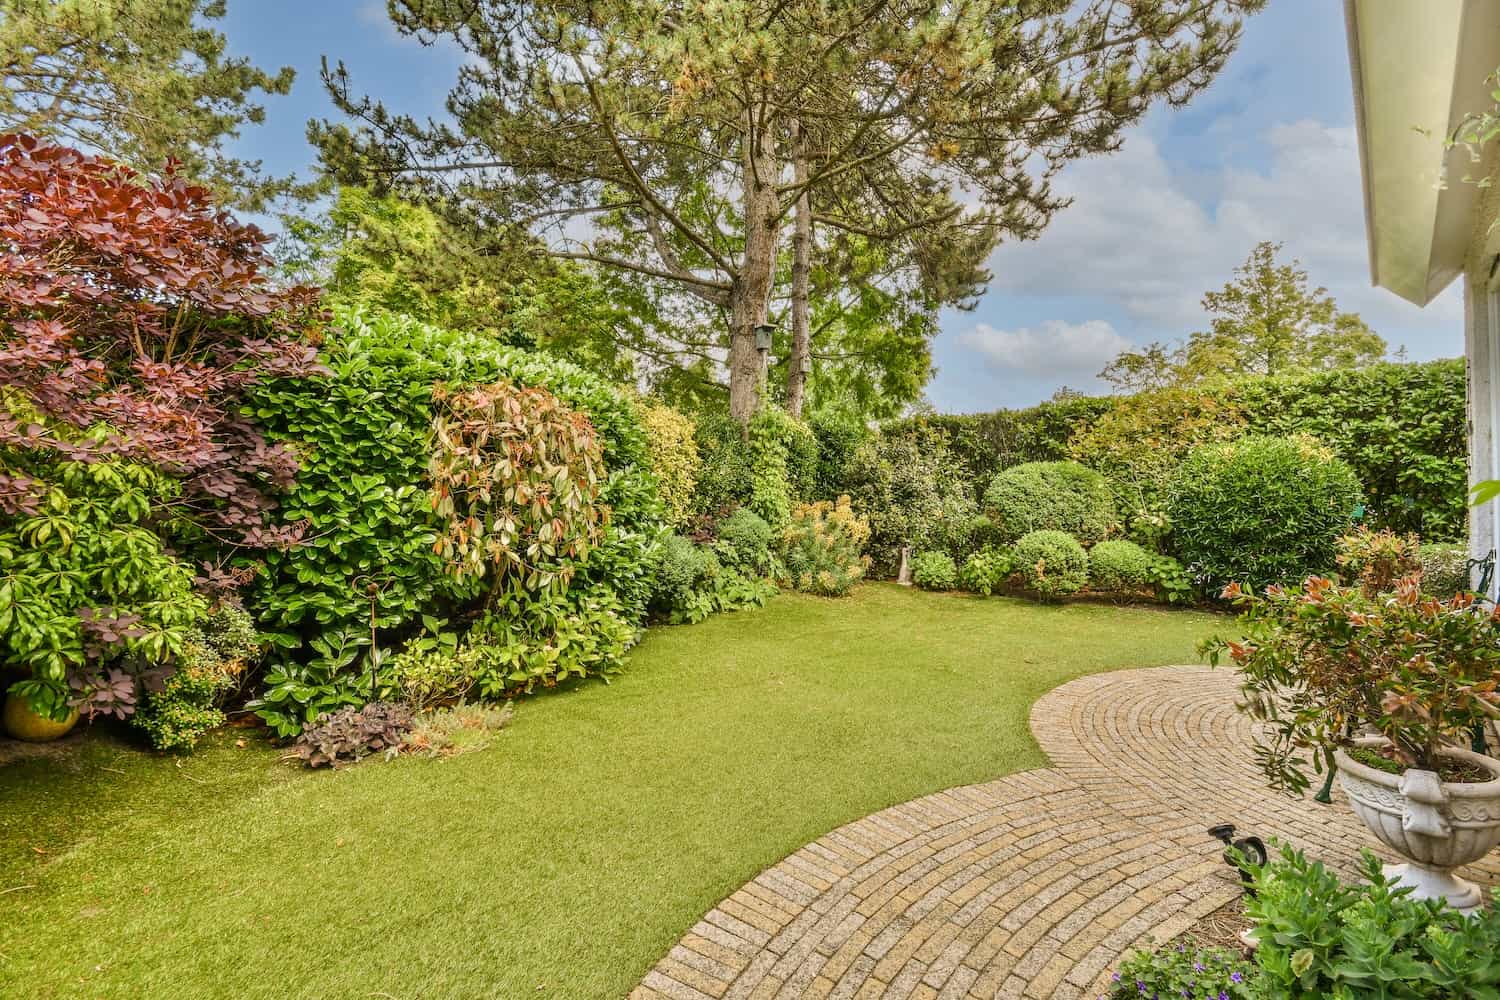
- Pavers: These offer flexibility in design, with different colors, shapes, and patterns.
- Stone: Natural stone can add a rustic charm but may require more upkeep.
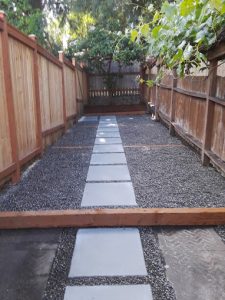
- Gravel: Budget-friendly and easy to install, though it may require some maintenance over time to keep it looking neat.
Best Practices for Installation
- Plan for Drainage: Make sure the walkway is slightly sloped away from your house to avoid water pooling near your foundation.
- Width Matters: For comfortable walking, aim for a width of at least 36 inches. If you expect foot traffic from multiple people at once, consider making it wider.
- Choose the Right Material: Match the material with your home’s style, budget, and how much maintenance you’re willing to handle.
- Keep It Level: Use a level regularly during installation to ensure your walkway is even and smooth.
- Use Quality Materials: Invest in durable materials like quality pavers or concrete. This will save you money on repairs in the long run.
- Add Edging: Adding edging helps to keep your walkway’s materials in place and adds a finished, professional look.
- Allow for Curing: Don’t rush the curing process if you’re using concrete. Proper curing ensures strength and prevents cracking.
Get Started
Building a sidewalk or walkway is a rewarding project that adds both beauty and function to your outdoor space. Whether you decide to go DIY or hire a professional, following these tips will help ensure a smooth installation and a lasting result. If you’re ready to enhance your home’s curb appeal or improve accessibility with a custom walkway, give us a call—we’re here to help you every step of the way!
Examples of Projects:
- Creating a welcoming front porch path.
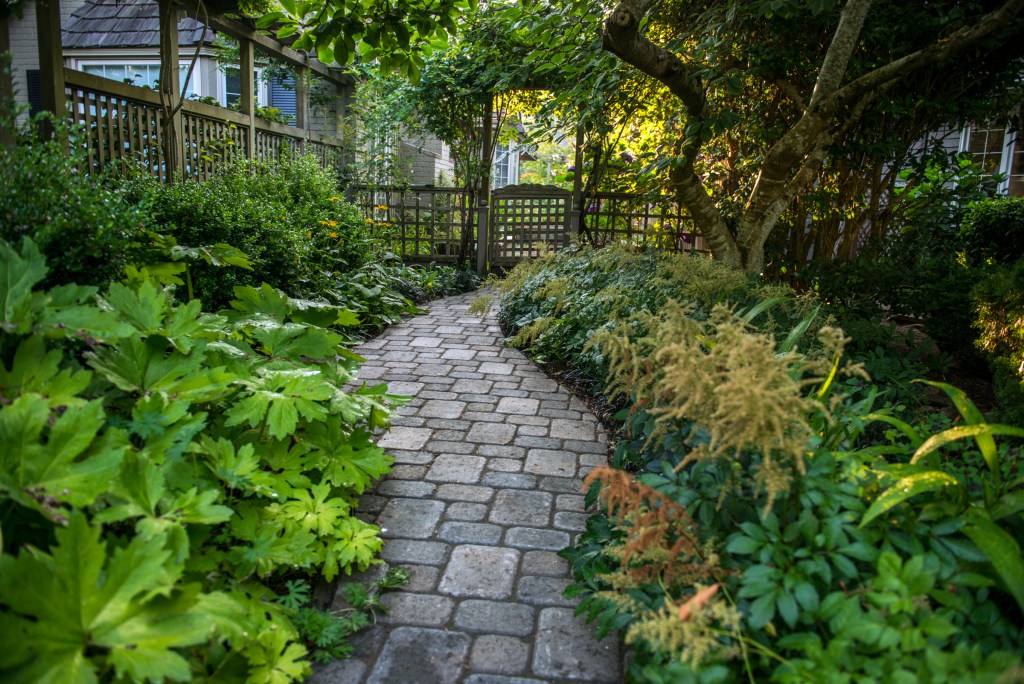
- Installing a charming stone walkway that winds through your garden.
- Building a durable concrete sidewalk for easy access to your home.
Let us help you create the perfect walkway for your space!


