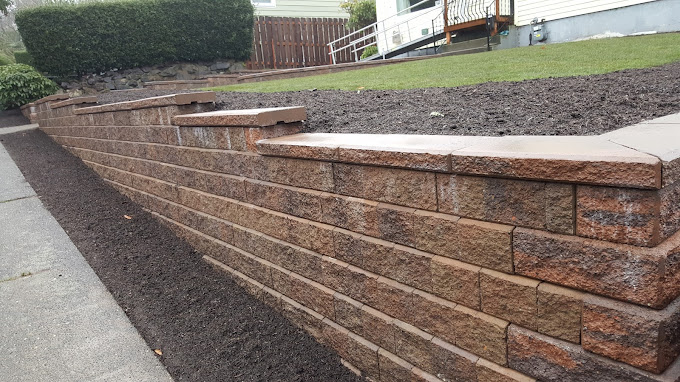
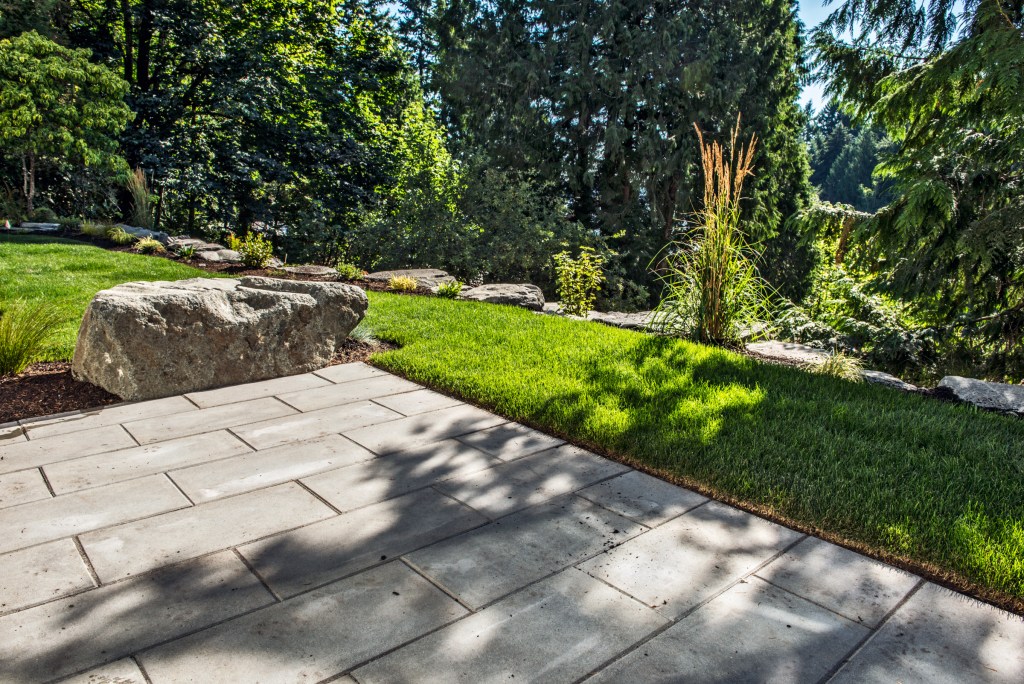
Retaining walls are often an overlooked feature of landscaping until their importance becomes undeniable. These essential structures offer more than just practical support; they transform landscapes, enhance aesthetics, and help manage the natural elements. When properly built, a retaining wall can prevent soil erosion, stabilize slopes, and create usable, level areas for outdoor spaces. Whether you’re expanding your backyard for more seating, creating a smoother path in your front yard, or simply adding a decorative element to your landscape, the value of a well-constructed retaining wall cannot be overstated.
From providing erosion control to adding visual appeal, retaining walls can be both functional and beautiful. With proper planning, materials, and design, your retaining wall will not only meet your needs but will also enhance the overall look and feel of your property. Below are key tips and a general process guide to help ensure your retaining wall project is successful.
Top Tips for Retaining Wall Construction
1. Understand the Purpose
- Erosion Control: Consider whether the wall’s main function is to prevent soil erosion, manage water runoff, or create flat areas for landscaping, patios, or other outdoor features.
- Aesthetic Appeal: Think about the visual impact the wall will have. A well-designed and constructed retaining wall can enhance the beauty of your yard, making it more inviting and cohesive.
2. Choose the Right Materials
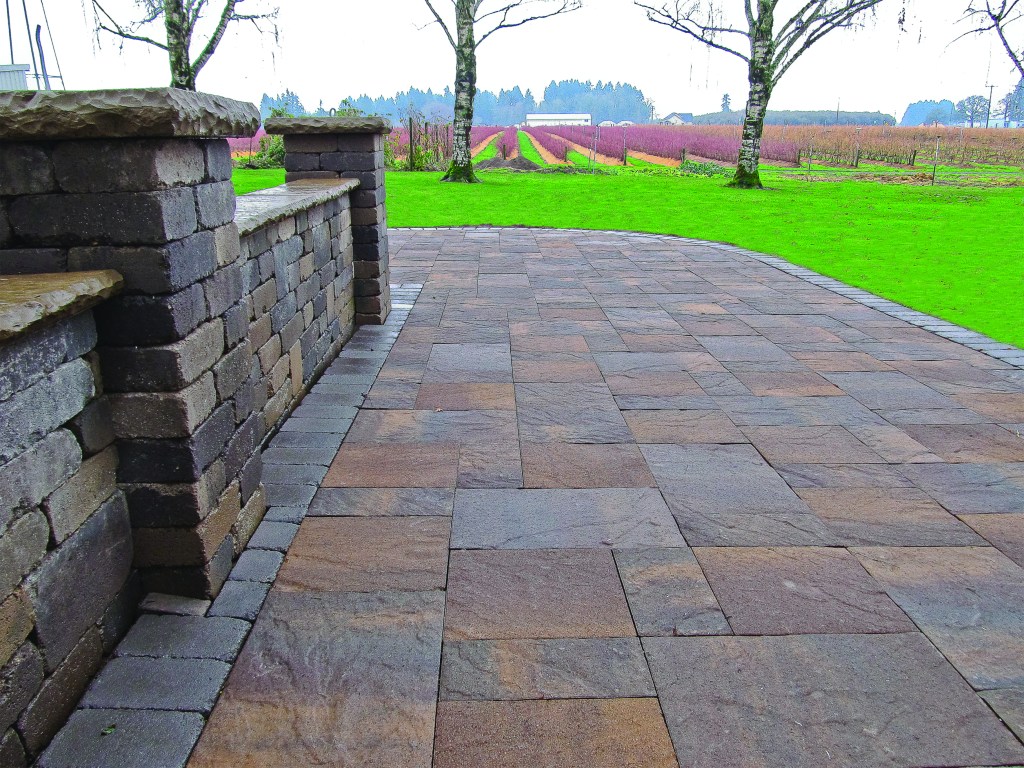
- Material Options: Popular materials for retaining walls include concrete blocks, natural stone, bricks, and treated timber. Each material offers distinct advantages, from durability to visual appeal, so choose according to your desired outcome.
- Drainage Considerations: Proper drainage is crucial to prevent water from accumulating behind the wall, which can weaken its structure. Ensure the materials you choose support effective water flow.
3. Plan Your Design
- Height and Width: Carefully determine the height of your wall. Most retaining walls should not exceed 4 feet without additional engineering. The thickness of the wall should also be appropriate for its height to ensure stability.
- Shape and Style: Sketch your design, keeping in mind whether you prefer straight lines or curves, and how the wall will blend with the existing landscape.
4. Check Local Regulations
- Permits: Retaining walls over a certain height or with specific designs may require a permit. Research your local building codes to determine what’s necessary for your project.
- Setbacks: Make sure your retaining wall complies with any zoning laws, particularly with respect to setbacks from property lines.
5. Proper Site Preparation
- Clearing the Area: Remove any vegetation, debris, or existing structures in the area where you plan to build the wall.
- Leveling the Ground: Ensure the ground is level before you begin. A slight slope away from the wall helps with water drainage, preventing water from pooling behind the wall.
6. Digging the Trench
- Trench Depth: Dig a trench that is at least 6-12 inches deep and 12 inches wider than the blocks or materials you are using. The depth will depend on the height of your wall.
- Compact the Base: Use a plate compactor to create a solid, stable foundation for the wall, which helps to prevent settling over time.
7. Install Drainage Solutions
- Weep Holes: Incorporate weep holes or drainage pipes behind the wall to help water flow through and alleviate pressure on the structure.
- Gravel Backfill: Use gravel behind the wall to promote proper drainage. This allows water to escape rather than accumulate, which helps maintain the wall’s integrity.
8. Lay the First Course of Blocks
- Leveling: Begin with the first row of blocks, ensuring they are level. Adjust them as necessary to make sure each layer is perfectly aligned.
- Stagger Joints: For additional strength, stagger the joints of the blocks in each subsequent row, similar to laying bricks.
9. Continue Building the Wall
- Adhere to Design: Continue to follow your design plan, ensuring each row is level and securely placed. Adjust the design as needed to accommodate curves or changes in direction.
- Use Adhesive for Stone: If using natural stone, consider applying construction adhesive to help secure the stones in place for added stability.
10. Backfill as You Go
- Layering: Backfill with gravel or soil behind the wall as you build, ensuring each layer provides support and enhances drainage.
- Compaction: After each layer of backfill, compact the material to remove air gaps and ensure long-term stability.
11. Finish with Capstones
- Top Layer: Once the wall is complete, add capstones to the top for a polished, finished look. Ensure they are securely adhered to the wall to prevent shifting.
- Clean Up: Remove any leftover materials or debris to leave the area tidy and ready for use.
12. Regular Maintenance
- Inspect for Damage: Periodically check your wall for signs of damage such as cracks, leaning, or settling. Address issues as soon as possible to prevent more significant problems.
- Vegetation Management: Trim any plants or trees near the wall to prevent root systems from compromising the structure.
General Process Overview
| Step | Description |
|---|---|
| Step 1: Planning and Design | Determine the wall’s purpose and aesthetics, creating a design that suits your needs. |
| Step 2: Site Preparation | Clear the area and level the ground to ensure proper drainage away from the wall. |
| Step 3: Trench Digging | Excavate a trench that is deep enough and wider than the blocks for a solid foundation. |
| Step 4: Drainage Installation | Install weep holes and gravel backfill to allow for proper water flow behind the wall. |
| Step 5: Building the Wall | Lay the first course of blocks, ensuring they are level, then build the remaining rows, staggering the joints for stability. |
| Step 6: Backfilling | Backfill with gravel or soil as you build, compacting each layer to ensure stability. |
| Step 7: Finishing Touches | Add capstones and clean up the work site for a neat, professional finish. |
| Step 8: Ongoing Maintenance | Regularly inspect the wall for any issues, and manage vegetation around the structure to prevent damage. |
Benefits of Hiring a Contractor
While DIY projects can be rewarding, constructing a retaining wall often benefits from professional expertise. Here’s why hiring a contractor can make all the difference:
1. Expertise and Experience
Contractors bring specialized knowledge and experience to the table, ensuring that your wall is durable, aesthetically pleasing, and complies with local building codes.
2. Design Support
Professionals can offer valuable input on the design, ensuring that the wall complements your landscape while fulfilling its functional purpose.
3. Proper Materials Selection
Contractors will help you choose the best materials suited for your project, ensuring durability and proper drainage for long-lasting results.
4. Efficient Construction
With access to specialized tools and equipment, contractors can complete the installation more quickly and efficiently than a DIY approach.
5. Structural Integrity
A professional ensures the wall is built to withstand environmental pressures and is constructed to last for many years.
6. Guaranteed Work
Many contractors offer warranties on their work, giving you peace of mind that your investment is protected.
7. Time Savings
Hiring a contractor saves you time, allowing you to focus on other home improvement tasks or activities without getting bogged down by construction work.
8. Liability Protection
Professionals carry insurance, protecting you from potential accidents or damage during the construction process.
9. Post-Construction Services
Some contractors offer ongoing maintenance services, helping you preserve the longevity and appearance of your wall.
10. Increased Property Value
A well-constructed retaining wall not only improves the functionality of your landscape but also boosts your home’s curb appeal and overall market value.
Ready to Start?
Retaining wall construction is an investment that can transform your landscape, offering both practical benefits and aesthetic enhancements. Whether you’re tackling this project yourself or enlisting the help of a professional, the key to success is careful planning and attention to detail. With the right materials, design, and construction methods, your retaining wall can provide lasting value for your property for years to come.


