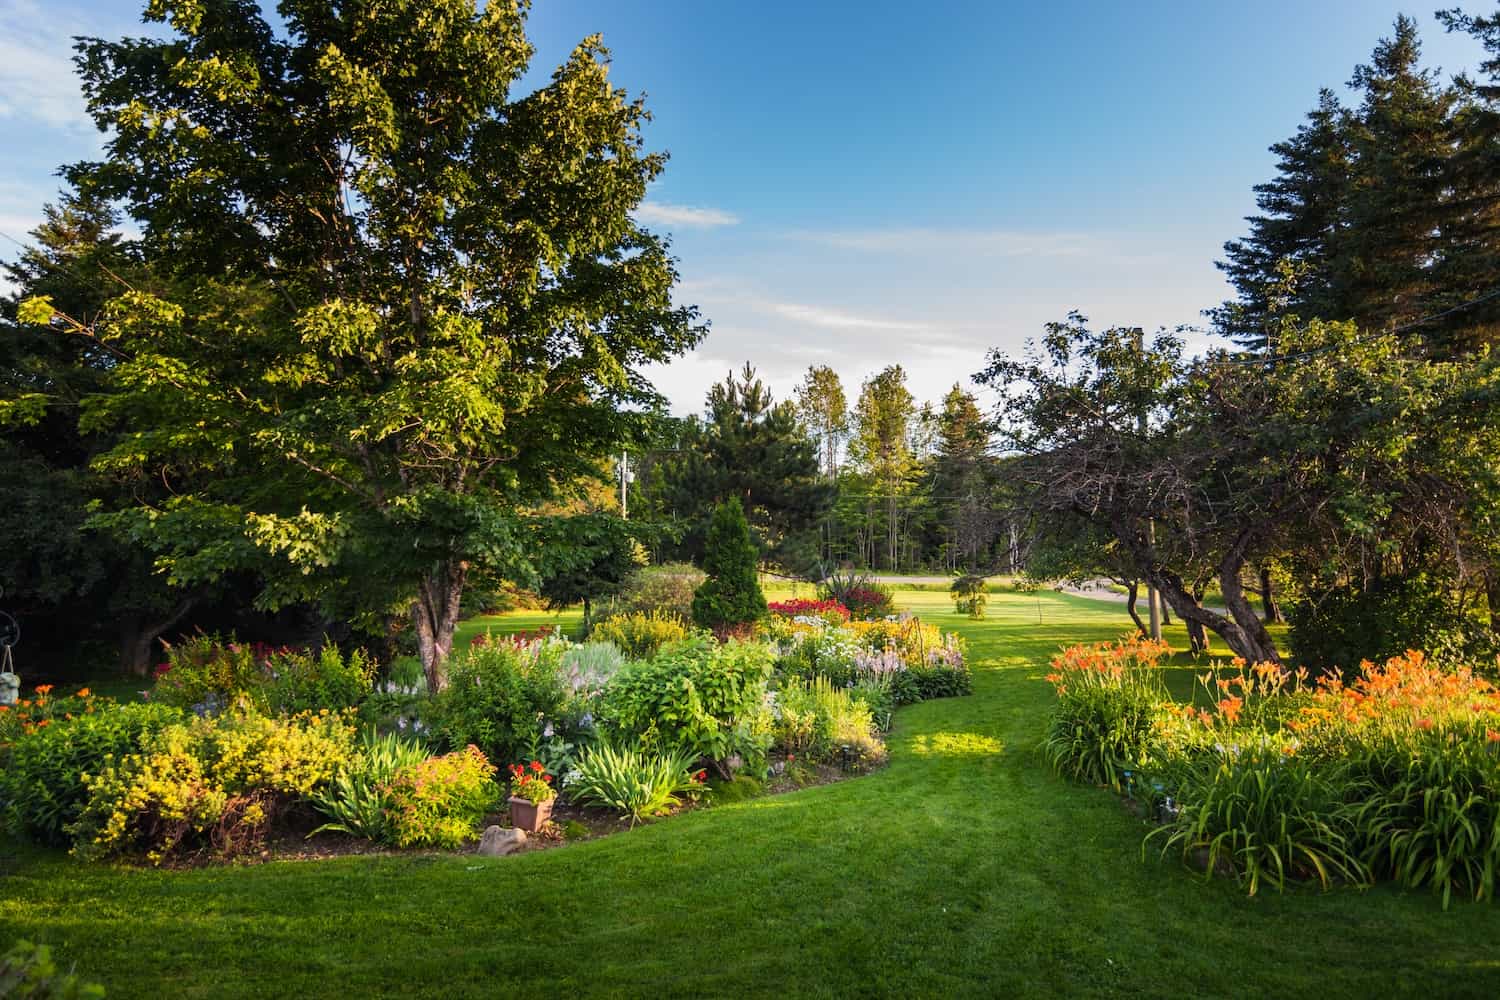
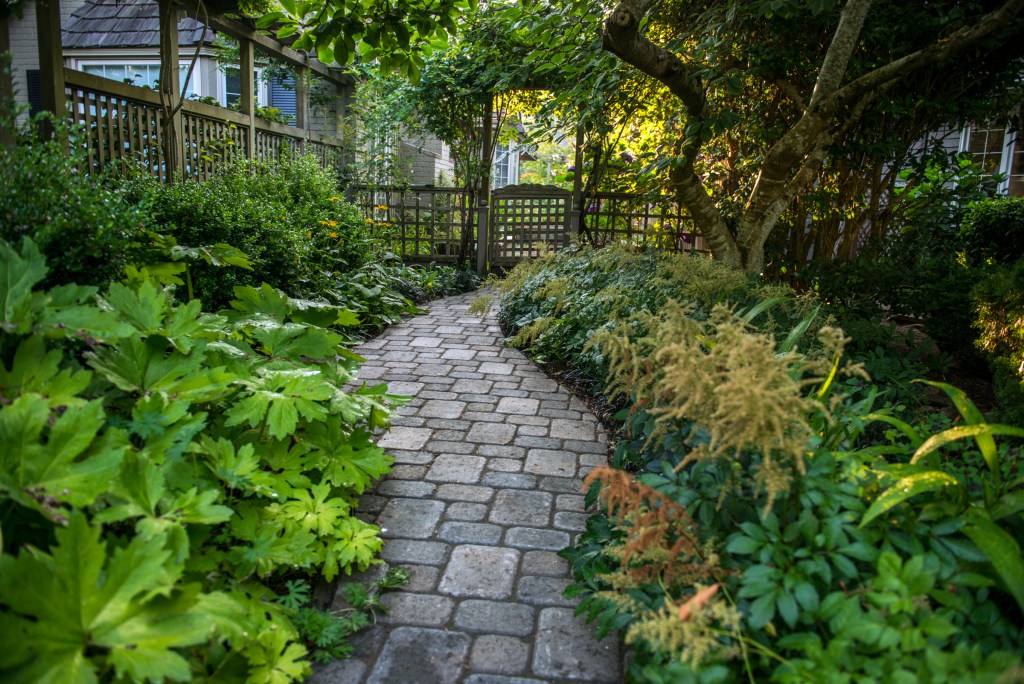
Let’s Pave the Way to Stunning Outdoor Spaces!
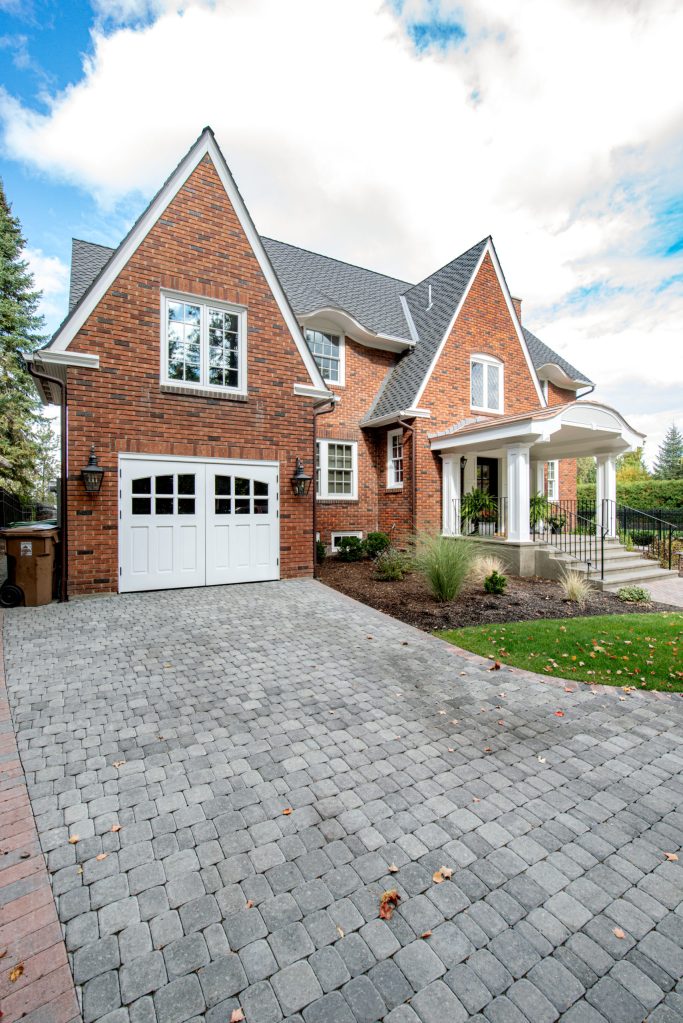
Talk the talk? Then walk the walk—on the perfect pavers! When it comes to creating stylish and functional outdoor spaces, pavers are a game-changer. Durable, versatile, and aesthetically pleasing, they provide a foundation for patios, walkways, driveways, and more. Whether you’re firing up the BBQ for a backyard bash or wowing guests with your curb appeal, pavers bring both practicality and polish to your outdoor design.
Why Choose Pavers?
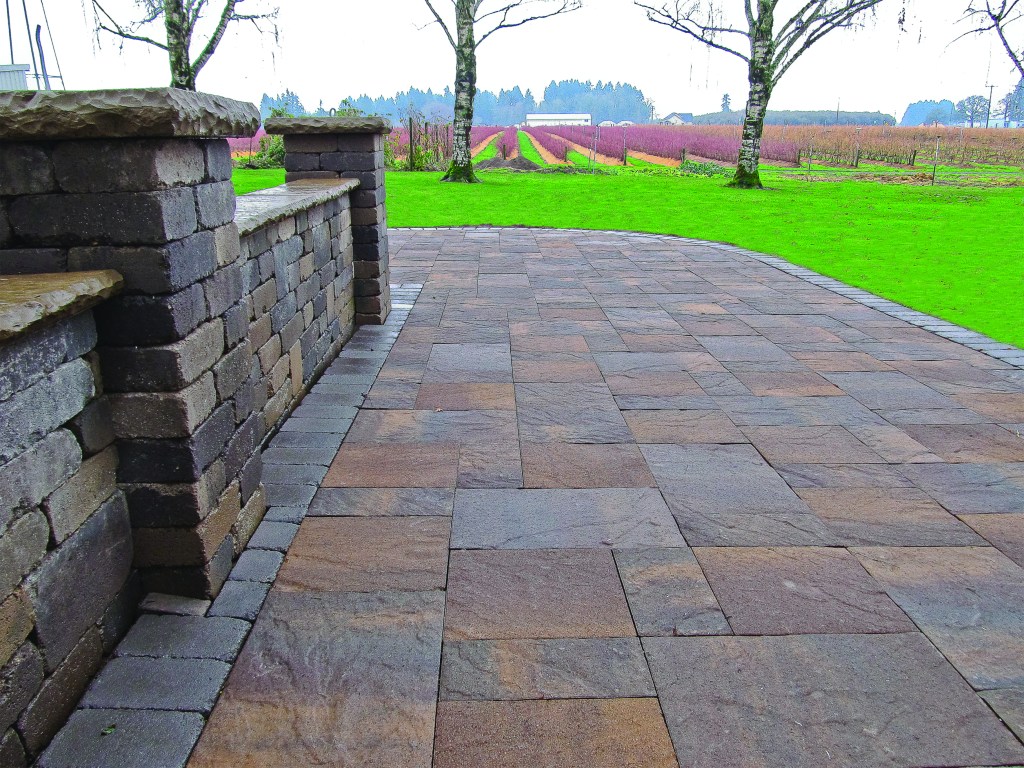
Pavers come in a variety of materials, including concrete, stone, and brick, making them adaptable to virtually any design vision. They’re also known for their durability, standing up to heavy foot traffic, vehicles, and Seattle’s rainy weather. Unlike poured concrete, individual pavers can shift slightly, reducing the risk of cracking over time. Their modular nature makes repairs simple—just replace the damaged piece!
The Importance of Proper Installation
Achieving a flawless and long-lasting look with pavers isn’t just about picking the right style; it’s about installing them correctly. A poorly prepared base or uneven placement can lead to shifting, drainage problems, or premature wear. Start with a stable foundation, level the surface carefully, and ensure tight joints for a cohesive finish. Installing a border and using polymeric sand can help lock pavers in place and prevent weeds or shifting.
Endless Design Possibilities
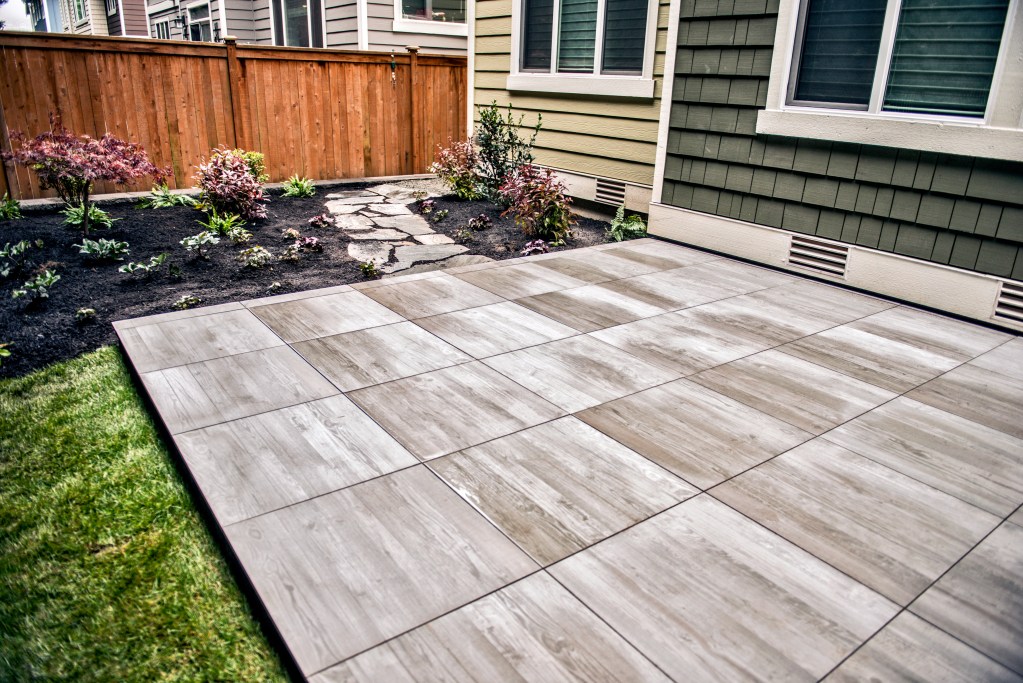
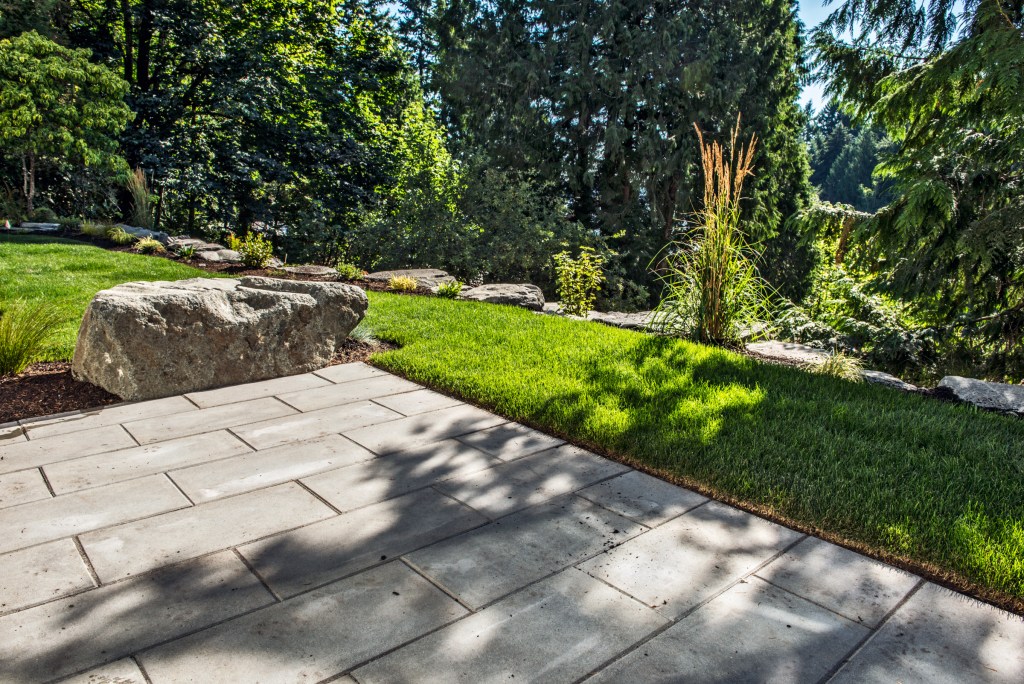
Pavers open up a world of design possibilities. Choose a herringbone pattern for timeless elegance, basket weave for vintage charm, or go modern with clean, linear arrangements. Mix and match colors and textures to complement your home’s architecture, or incorporate unique elements like mosaic inlays for a personal touch.
Leave It to the Pros
While DIY projects can be rewarding, paver installation is a precise craft that often benefits from professional expertise. Contractors ensure proper grading, drainage, and seamless execution, saving you time and potential headaches. In Seattle, where wet weather is a constant factor, professional installation can make all the difference in maintaining the integrity and longevity of your pavers.
Step Up Your Outdoor Game
Ready to pave the way to the outdoor space of your dreams? With the right pavers and installation know-how, you’ll create a beautiful, functional area that stands the test of time. Whether it’s a chic patio, a welcoming walkway, or a sturdy driveway, let pavers transform your outdoor vision into reality!
Top Tips for Paver Installation
| Tip | Description |
|---|---|
| 1. Choose the Right Pavers |
Material Selection: Decide between options such as concrete, brick, natural stone, or permeable pavers, considering durability and aesthetics. Color and Texture: Select colors and textures that complement your home and landscape. Mix and match for added visual interest. |
| 2. Plan Your Design |
Layout and Patterns: Sketch your design, considering paver patterns (e.g., herringbone, basketweave) and how they flow with the surrounding landscape. Functional Zones: Plan for functional zones, like seating areas or walkways, ensuring the design fits your intended use. |
| 3. Measure Accurately |
Area Calculation: Measure the area where you plan to install the pavers. Include any necessary borders or edging to define the space. Materials Estimation: Calculate the number of pavers needed, accounting for cuts and waste (typically an extra 10%). |
| 4. Prepare the Base |
Excavate the Area: Dig out the area to a depth of 6-12 inches, depending on the paver thickness and intended use (driveways require more depth). Compact the Soil: Use a plate compactor to ensure a stable base, reducing the risk of settling or shifting in the future. |
| 5. Install a Proper Base Layer |
Crushed Stone or Gravel: Add a layer of crushed stone or gravel (4-6 inches), then compact it to create a solid foundation. This helps with drainage and stability. Sand Layer: Spread a layer of coarse sand (1 inch) on top of the gravel for leveling the pavers. Use a screed board to create an even surface. |
| 6. Lay the Pavers |
Start from a Corner or Edge: Begin laying pavers from one corner or edge, working your way across the area. Tight Fit: Ensure pavers are tightly fitted together, leaving minimal gaps for a clean look. Use spacers if necessary for uniformity. Cut as Needed: Use a wet saw or paver splitter for precise cuts around edges or obstacles. |
| 7. Set the Pavers |
Use a Plate Compactor: Once all pavers are laid, use a plate compactor to set them into the sand, creating a solid surface. Check Levelness: Ensure the surface is even and level, adjusting as needed by adding or removing sand. |
| 8. Fill the Joints |
Polymeric Sand: Sweep polymeric sand into the joints between pavers to lock them in place and prevent weed growth. Compact Again: Use the plate compactor once more to ensure the sand settles properly in the joints. |
| 9. Finishing Touches |
Water the Surface: Lightly mist the surface with water to activate the polymeric sand, helping it to harden and stabilize. Add Edging: If desired, install edging around the paver area to keep them in place and prevent shifting. |
| 10. Regular Maintenance |
Cleaning: Regularly sweep and clean the surface to maintain appearance and prevent dirt buildup. Weed Control: Inspect for weeds and treat as necessary to prevent growth in the joints. |
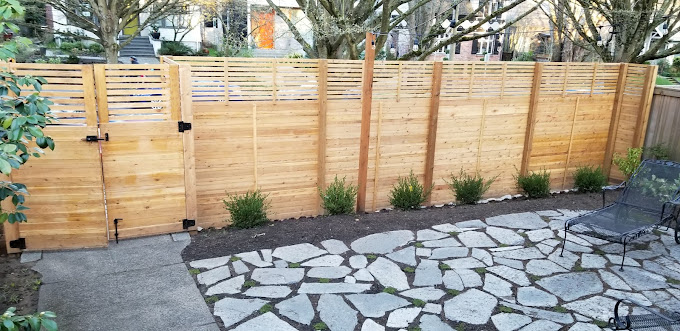
Benefits of Hiring a Contractor for Paver Installation
| Benefit | Description |
|---|---|
| 1. Expertise and Experience | Contractors have extensive knowledge of paver installation, ensuring a high-quality finish and proper techniques. |
| 2. Efficient Installation | Professionals can complete the project faster due to their experience and access to specialized tools and equipment. |
| 3. Design Guidance | Contractors can provide valuable advice on design options, material choices, and best practices based on their expertise. |
| 4. Quality Materials | Professionals often have access to high-quality materials at better prices and can recommend the best options for your project. |
| 5. Proper Site Preparation | A contractor will ensure the site is properly excavated, graded, and compacted, which is crucial for the longevity of your pavers. |
| 6. Reduced Risk of Mistakes | Hiring a professional minimizes the risk of costly mistakes that can arise from DIY efforts, such as improper base preparation or uneven laying of pavers. |
| 7. Liability and Insurance | Professionals carry liability insurance, protecting you from any accidents or damages that may occur during installation. |
| 8. Increased Property Value | A well-installed paver surface can enhance your property’s curb appeal and value, making it more attractive to potential buyers. |
| 9. Post-Installation Care | Many contractors offer maintenance services, ensuring your pavers remain in top condition over time. |
Ready to pave?
Relax and enjoy your weekend while we handle the hard work! Installing pavers can greatly improve the functionality and beauty of your outdoor space. To ensure a successful installation, it’s crucial to understand the process and the advantages of hiring a professional contractor. Let us handle the heavy lifting, and you can reap the benefits of a stunning and functional outdoor space without breaking a sweat!


